GuideSIGN Plus 2024 Help
This feature is not available in GuideSIGN.
Allows the horizontal clearance to be overridden for a reference line or offset reference geometry in the process of creating or editing a sign assembly (see Creating a Sign Assembly: Basic Steps or Editing a Sign Assembly respectively).
Note: This procedure assumes that the Place Sign Support Symbol or Move Sign Support Symbol dialog box is open (see Tools -> Create Sign Assembly -> Place Sign Support Symbol or Tools -> Edit Sign Assembly -> Move Sign Support Symbol respectively):
|
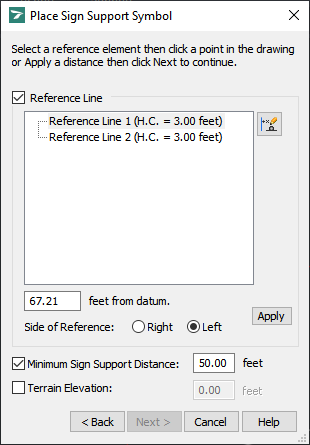
Place Sign Support Symbol |
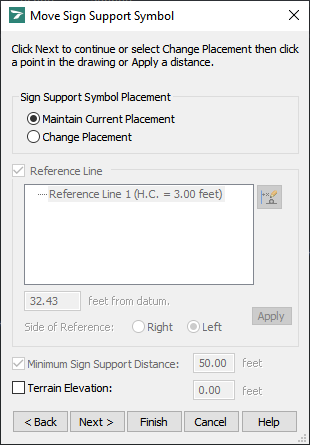
Move Sign Support Symbol |
Select the Reference Line check box in the Place Sign Support Symbol dialog box or click Change Placement in the Move Sign Support Symbol dialog box, and then click the reference line or offset reference geometry for which you want to override the horizontal clearance.
Click ![]() Override Horizontal Clearance. A dialog box similar to the following example displays (for detailed information on the dialog box, see Tools -> Create Sign Assembly -> Override Horizontal Clearance):
Override Horizontal Clearance. A dialog box similar to the following example displays (for detailed information on the dialog box, see Tools -> Create Sign Assembly -> Override Horizontal Clearance):
![]()
Override Horizontal Clearance
In the Horizontal Clearance box, type the desired value.
Click OK to apply the new setting and return to the Place Sign Support Symbol or Move Sign Support Symbol dialog box.
Note: The overridden horizontal clearance will be applied to the sign assembly that is being currently created or edited. To change the horizontal clearance for all subsequently created sign assemblies, edit the horizontal clearance using the Reference Line Manager tool (see Managing Reference Lines -> Editing Horizontal Clearance).