GuideSIGN Plus 2024 Help
This feature is not available in GuideSIGN.
Allows a user-defined sign to be selected and inserted into a sign group in the process of creating or editing a sign assembly (see Creating a Sign Assembly or Editing a Sign Assembly respectively).
Note: This procedure assumes that the Create Sign Assembly or Edit Sign Assembly dialog box is open (see Tools -> Create Sign Assembly or Tools -> Edit Sign Assembly respectively):

Create Sign Assembly
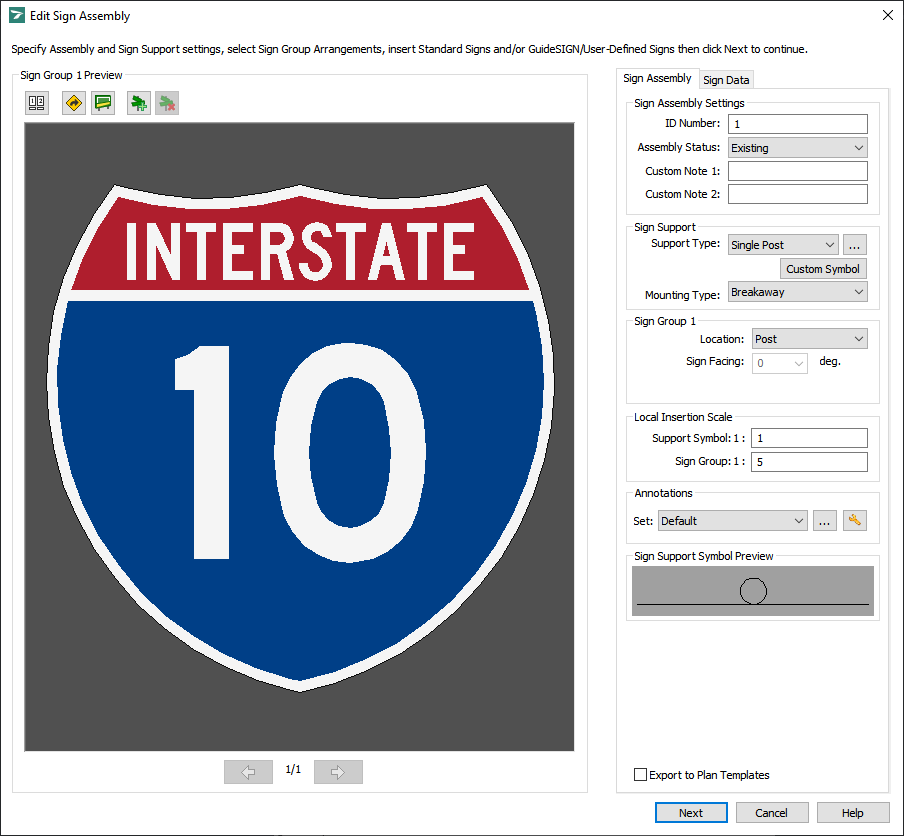
Edit Sign Assembly
Click ![]() Insert User-Defined Sign. A dialog box similar to the following example displays (for detailed information on the dialog box, see Tools -> Create Sign Assembly -> Insert User-Defined Sign):
Insert User-Defined Sign. A dialog box similar to the following example displays (for detailed information on the dialog box, see Tools -> Create Sign Assembly -> Insert User-Defined Sign):
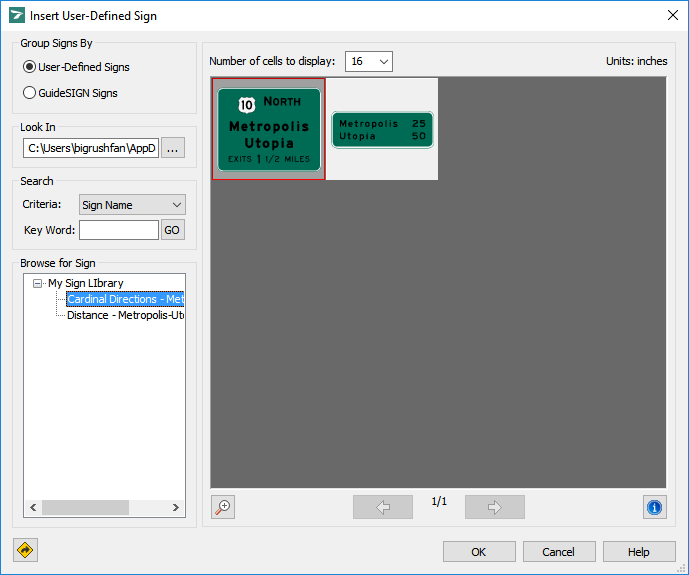
Insert User-Defined Sign
Select the desired sign sorting method in the Group Signs By box by clicking User-Defined Signs or GuideSIGN Signs.
Note:
If you click User-Defined Signs and then select a sign created with GuideSIGN, the sign may not display correctly in the preview area. This happens because for user-defined signs GuideSIGN Plus displays everything that is drawn on all layers/levels, whereas for signs created with GuideSIGN, GuideSIGN Plus displays only the objects drawn on the GSCOLORFILL layer/level.
User-defined signs that use CAD text objects (e.g. TrueType fonts) require corresponding text styles be created in the sign plan drawing.
User-defined signs must be stored in sign libraries (see Appendix -> Creating User-Defined Sign Libraries)
Under Look In, click ![]() Locate the folder and browse for the folder in which GuideSIGN Plus should look for user-defined signs.
Locate the folder and browse for the folder in which GuideSIGN Plus should look for user-defined signs.
(Optional) To search for a sign, click the desired search criteria in the Criteria list, type the desired key word in the Key Word box, and then click GO. The signs that have been found are displayed in the preview area.
Under Browse for Sign, select the desired sign.
In the preview area, the selected sign displays outlined in red.
To change the number of signs displayed per page in the preview area, click the desired value in the Number of cells to display list.
To preview the previous or next page of signs, click ![]() Previous Page or
Previous Page or ![]() Next Page respectively.
Next Page respectively.
To enlarge the selected sign so it covers the entire preview area, click ![]() Zoom In. To reduce the sign to the initial size, click
Zoom In. To reduce the sign to the initial size, click ![]() Zoom Out.
Zoom Out.
To get information on the selected sign, click ![]() Information.
Information.
Click OK to add the selected sign to the sign group and return to the Create Sign Assembly or Edit Sign Assembly dialog box.
If no sign or sign group arrangement exists in the sign assembly, GuideSIGN Plus will place the sign automatically. If a sign group arrangement was previously selected, or if one or more signs were added, you will have to add the sign to the existing sign group. In the sign group preview area, move the pointer to choose the desired position for the sign. As you move the pointer, a box will move accordingly in the sign group preview area, displaying the positions available for alignment, and a vertical/horizontal line will indicate the respective alignment of the sign after it is placed.
Click to place the sign.