GuideSIGN Plus 2024 Help
This feature is not available in GuideSIGN.
Allows a sign (or a box in a sign group arrangement) to be replaced with a standard sign or user-defined sign in the process of creating or editing a sign assembly (see Creating a Sign Assembly or Editing a Sign Assembly respectively).
Note: This procedure assumes that the Create Sign Assembly or Edit Sign Assembly dialog box is open (see Tools -> Create Sign Assembly or Tools -> Edit Sign Assembly respectively):
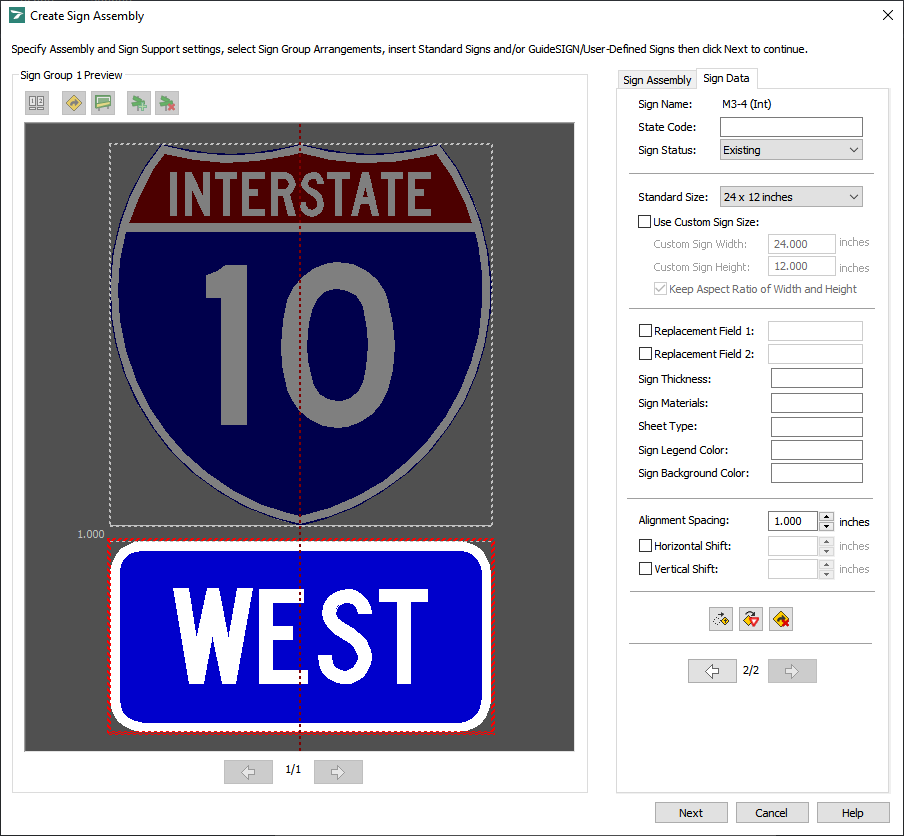
Create Sign Assembly
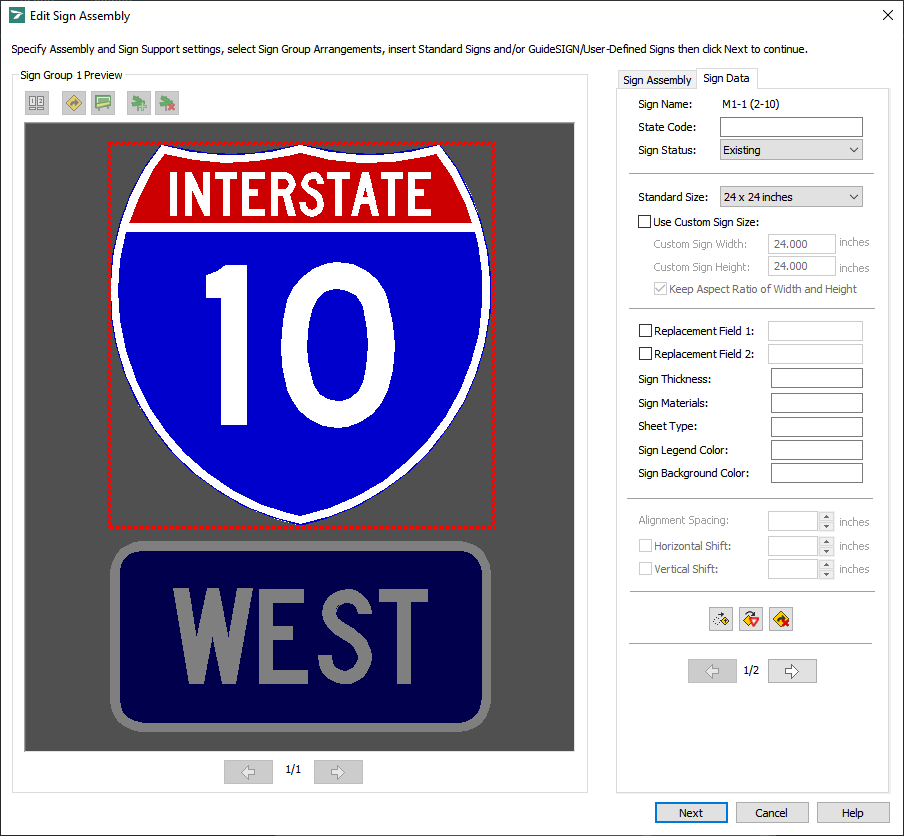
Edit Sign Assembly
In the sign group preview area, click the box in the sign group arrangement or the sign that you want to replace with a standard or user-defined sign, and then click ![]() Replace Sign, or simply double-click the desired sign or box. If you selected a box in the sign group arrangement or a standard sign, a dialog box similar to the following example displays (for detailed information on the dialog box, see Tools -> Create Sign Assembly -> Replace Standard Sign):
Replace Sign, or simply double-click the desired sign or box. If you selected a box in the sign group arrangement or a standard sign, a dialog box similar to the following example displays (for detailed information on the dialog box, see Tools -> Create Sign Assembly -> Replace Standard Sign):
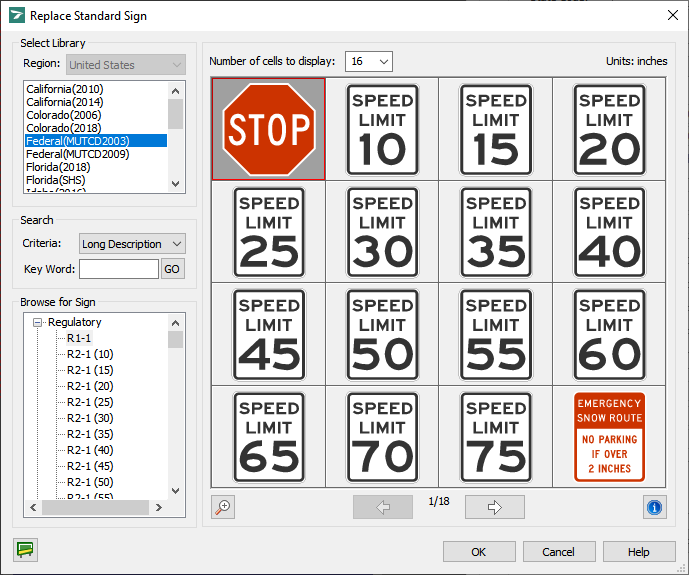
Replace Standard Sign
If you selected a user-defined sign or GuideSIGN sign, a dialog box similar to the following example displays (for detailed information on the dialog box, see Tools -> Create Sign Assembly -> Replace User-Defined Sign):
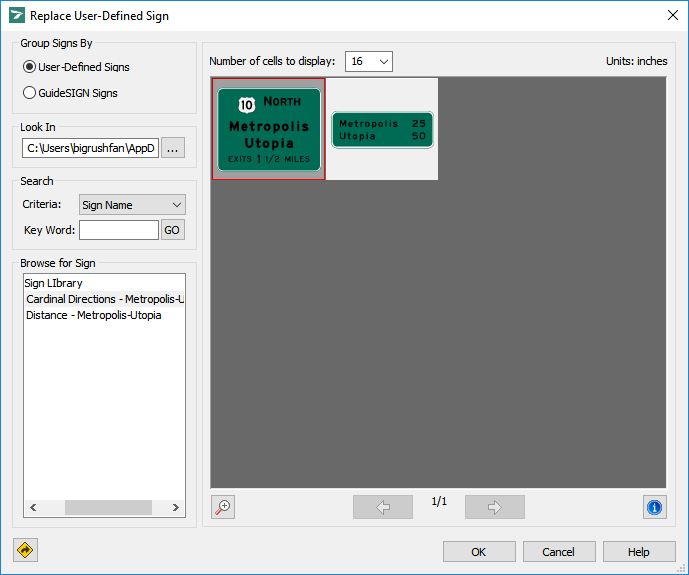
Replace User-Defined Sign
In the preview area, select the sign with which you want to replace the current sign or box.
Note: To replace a box in the sign group arrangement or a standard sign with a user-defined sign or a GuideSIGN sign, you can switch from the Replace Standard Sign dialog box to the Replace User-Defined Sign dialog box by clicking ![]() Switch to user-defined sign libraries. Similarly, to replace a user-defined sign or a GuideSIGN sign with a standard sign, you can switch from the Replace User-Defined Sign dialog box to the Replace Standard Sign dialog box by clicking
Switch to user-defined sign libraries. Similarly, to replace a user-defined sign or a GuideSIGN sign with a standard sign, you can switch from the Replace User-Defined Sign dialog box to the Replace Standard Sign dialog box by clicking ![]() Switch to standard sign libraries.
Switch to standard sign libraries.
After you select the sign with which you want to replace the current box or sign, click OK.
If you selected a standard sign at step 2, the Standard Sign Parameters dialog box displays. For information on setting standard sign parameters, see Tools -> Create Sign Assembly -> Standard Sign Parameters. After you set standard sign parameters, click OK to apply the parameters, replace the sign, and return to the Create Sign Assembly or Edit Sign Assembly dialog box.
If you selected a user-defined sign or a GuideSIGN sign at step 2, the Sign Parameters dialog box displays. For information on setting user-defined or GuideSIGN sign parameters, see Tools -> Create Sign Assembly -> User-Defined Sign Parameters. After you set user-defined or GuideSIGN sign parameters, click OK to apply the parameters, replace the sign, and return to the Create Sign Assembly or Edit Sign Assembly dialog box.
Note: User-defined signs that use CAD text objects (e.g. TrueType fonts) require corresponding text styles be created in the sign plan drawing.