GuideSIGN Markings 2024.8.2
Single-Clicking Editing – using the blue, cyan and red grips
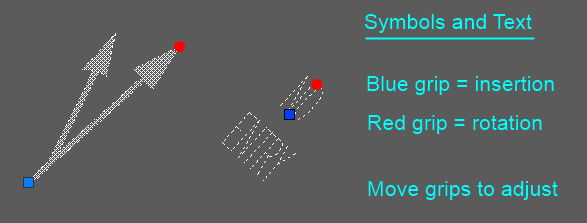
This is based on the standard CAD principles, where entities can be adjusted by the blue grip that appears when an object is highlighted. GuideSIGN Markings will also displays some grips when any drawn marking is selected.
To use them:
AutoCAD: Select an item when not using a command to highlight it. Press Esc to cancel the highlights and grips.
Microstation: You will need to initiate Element Selection to start and select an Element then select again to end.

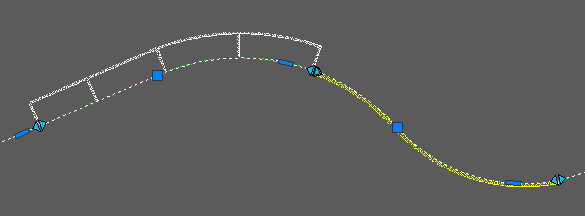
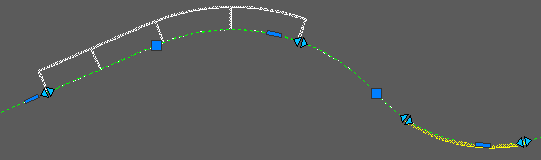
With linear markings including the edge lines to hatching, the blue grips are like vertices of polylines and can be moved around in the same way as AutoCAD polylines. This is particularly useful with the hatching, because when the sides and/or apex are adjusted then the diagonals are automatically redrawn to fill the marking area.

Becomes

This is then used to allow the start of end position to be adjusted and the marking will remain next to the kerb but positioned with the updated start/end point.