

The markings, symbols and other items created are special objects called KTS_STREETFEATURES. Every street feature can have data added and this data will be saved in the dwg for other departments to view. This can be especially useful for tasks such as future maintenance and asset management.
Double-clicking on a street feature will usually open the KeyProperties dialog.
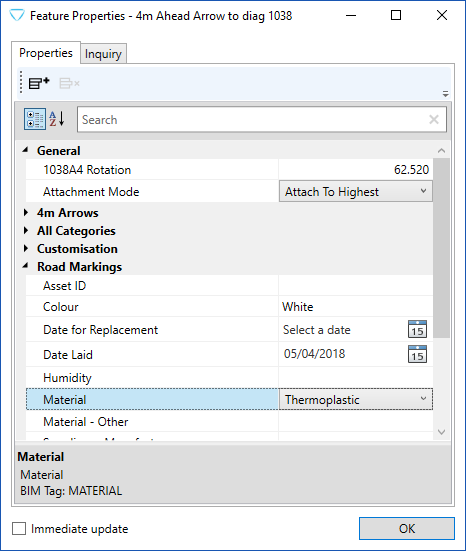
In the Road Markings section, you can see a number of predefined data fields ready for use. The data types are not limited to just text strings, dates, drop-down lists and numeric values can be specified and entered. Type or select the information. After clicking the OK button, the information will remain as part of the object and saved within the dwg.
The above KeyProperties dialog has an icon on the top bar to create additional data fields.
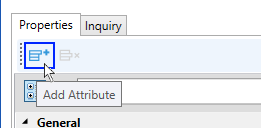
Using this icon will open another dialog where you can specify an additional data field.
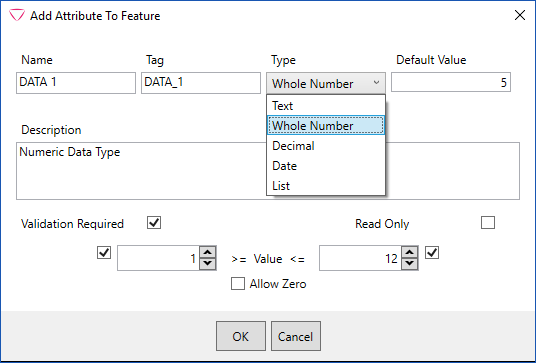
After entering the required data field and click OK, then you should see that item in the KeyProperties list in a section called Specific Object.

There will be an additional menu tab on the ribbon called Keysoft BIM 3D.
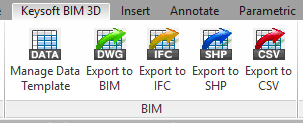
The first item on the BIM panel of this tab is called Manage Data Template and runs the command ManageDataTemplate. This opens a larger dialog which can also be used to add data fields. The great benefit of this is that the data fields specified here can be done on feature in a Category, or just all ahead arrows depending on what is required.
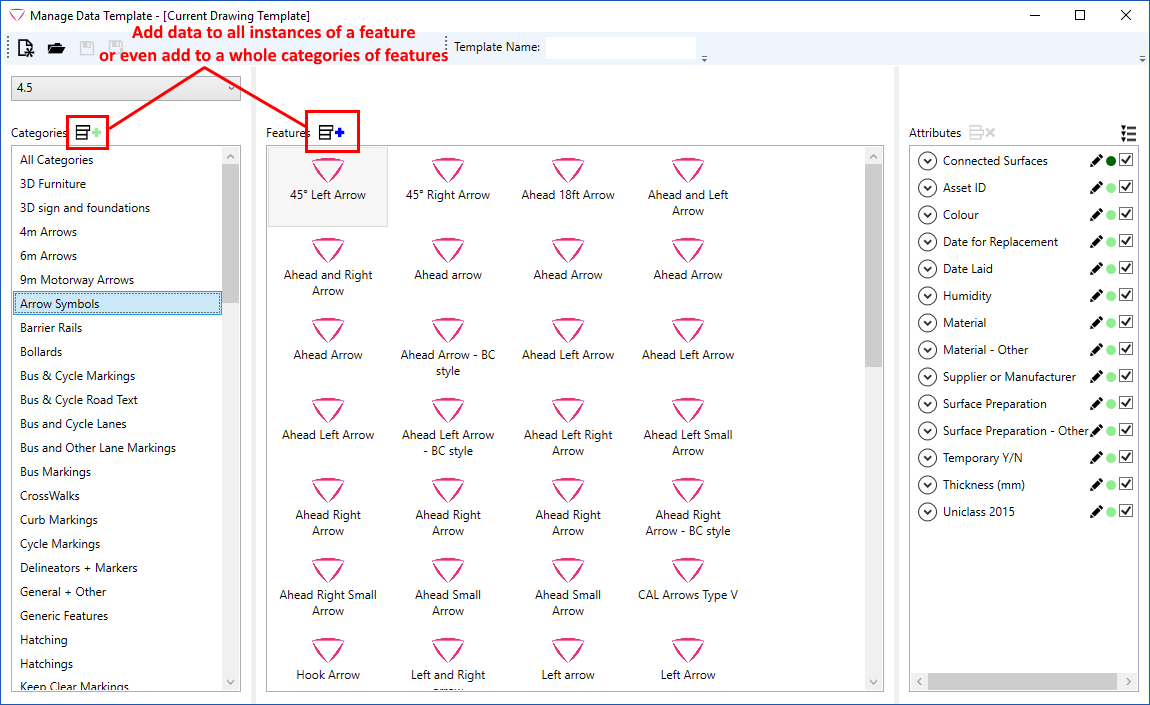
In the top corner of this dialog, you will see that the sets of data created can be saved, and previously saved data can be opened.

This is achieved through a template system. Each time the Save button is used, an XML file template is created which holds the additional data fields and data types. This template is particularly useful if an organization-wide set of data is required, as an official data template can be created by a co-ordinator or supervisor, and this XML file can distributed out to all engineers/technicians and other users.